You are here to know how to remove a stuck tape from a cassette player. Keep reading the rest of the post.
Quick Solution
- Press the Eject button a few times stronger
- Use flat head screwdriver to pry the tape out. Just click and hold the eject button and use the screwdriver to pry the tape out gently.
- Take the entire cassette player apart using the phillips screwdrivers to release the stuck tape.
Nowadays, cassettes and cassette players are not that common. However, you might have got one at your disposal. Also, you can find them in old cars so there’s still situations where this comes handy.
As most cassette players are old, the cassette could get stuck inside the cassette deck. And, if you have faced this issue, you know how difficult it could be to bring out the cassette from the deck.
But there are a few old-school tricks that you can use to remove a stuck cassette from a cassette player. In this post, we will talk about them one by one. So by the time you have read the post, you will be familiar with a few effective tricks to remove a stuck tape from a cassette player.
If you are ready, let’s get to it…
How to Remove a Stuck Tape from a Cassette Player
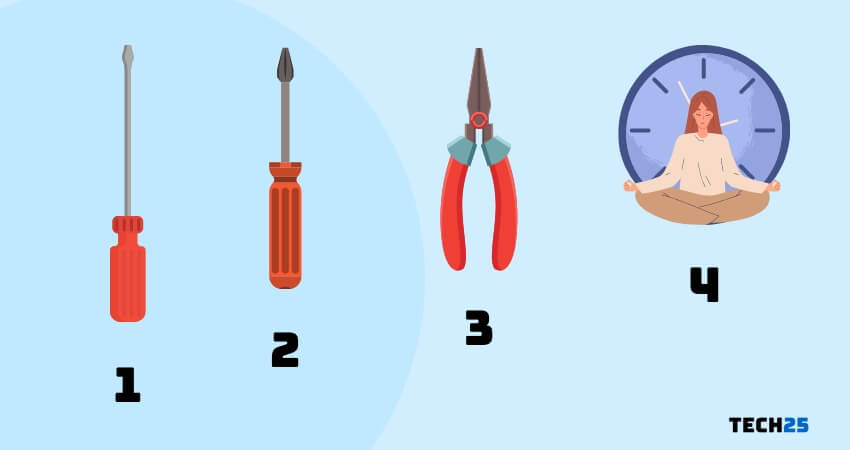
Tools for the job
| Flat head screwdriver | Phillips screwdriver |
| Needle nosed pliers | Perseverance |
Tip #1 Use the Prying Method
Tools you need:
- Flat head screwdriver
- Needle nosed pliers
One of the most common reasons a cassette tape is jammed inside is that the tray where the tape sits on moved a little bit and now when you press eject it won’t release the tape, in this case we need to help it out manually.
So, get a flat-head screwdriver or something similar to that shape. Next, press the Eject button, and the tape will start to rise but maybe won’t get free ( it could not rise at all as well )
Now use the flat head screwdrivers and insert it under the tape gently and push the tape up a little bit to make it separate from the case.
The tape in most cases will now just pop out and you can grab it with your hands. However in the event it is really stuck there, you will need to use your pliers to gently pull it out
NOTE – Don’t use too much force as you might ruin the tape itself and then won’t be able to use it again after that.
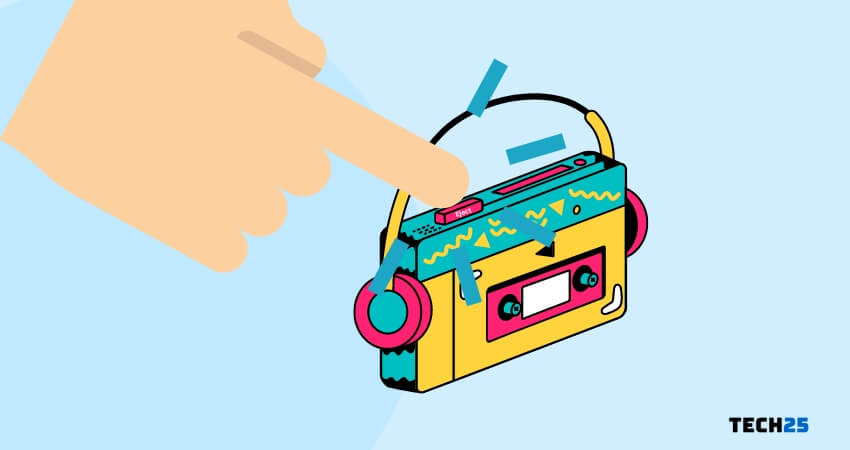
Tip #2 Jiggle the Eject button
Tools you need:
- Perseverance
In a lot of these old electronic devices, the mechanism is not digital like it is today, it is mostly mechanical – meaning you actually have moving parts inside that can easily be damaged or just get old and rusty.
So naturally the eject button can just be old and don’t work as well as it was when the cassette was new ( in the 90s )
This method is a no brainer, use your finger, and try to jiggle the eject button a little bit and press it a few times maybe using a little bit extra force to try and see if it gets the jammed tape out.
In like 50% of the times, this will work and you won’t need anything else so it’s really worth a try as this is the easiest and quickest way to release the jammed tape.
Tip #3 Go All Out
Tools you need:
- Phillips screwdriver
It could also be that you have tried everything, but the tape is still stuck. In that case, you must go the extra mile. Yes, we are talking about taking apart the cassette player.
Depending on the model of the cassette player, the method of disassembling it would be different.
But basically, you will need to unmount the cassette player if it is in your car. If it is a stand alone cassette player, then you need to unscrew the cassette deck from the player. After that, you will be able to remove the stuck tape from the cassette player with ease.
Of course, you will have to assemble the cassette player once again. Some people, on the other hand, don’t assemble the cassette deck permanently.
Instead, they just insert the tape directly into the cassette deck mechanism. Otherwise, you will have to disassemble the cassette deck every time you play a new cassette.
In all honesty, most cassette players are put together using simple phillips screws, so you just trace them on the back and front side and remove them one by one until the whole thing comes apart.
At this stage you should be able to easily pull the cassette out of the case, and put the whole thing back together.
PRO TIP – Some people ( myself included ) after a few times the tape got stuck, we just never put the player back together, we just screwed the back drivers but left the front side open. This way the tape can be easily put inside and out if get stuck again.
Tips to prolong your tape player life
If you decided you still want to use your tape player and not joining us in the 21st century, here are a few tips you can use to try and prolong the life of your tape player.
First, clean your player from time to time, use a gentle brush to clean off any dust from the inside as well. You can also use lubricate oil and very carefully lube the parts that are holding the tape inside ( NOT the rollers or heads as these don’t need oil )
Second, and this goes without saying, but we will say it anyway. Don’t drop your tape or use too much force when inserting or removing tapes from it.
Using too much force can move parts and ruin your tape player.
Final Lines
So there you have it. If you have read the post above, you should be familiar with some tips on removing a stuck tape or cassette from a car cassette player.
Back in the day, it was a prevalent issue with the cassette players in the cars. However, with the advancement of technology, you don’t have to use this type of cassette player anymore.
Still, you can learn these tips like these can come in handy anytime. Also, if you have any other tips to solve this problem, you can share that with us in the comments below.
And if you have liked this post, you can share it with others. Before you go, you can read our post on ‘25 Fun Facts about Glass You Need to See to Believe’.