If you want to know how to remove hard drive from HP desktop, then this post is for you.
HP has been releasing pre-built desktop PCs for some time now. Most of them come with good specifications. Plus, you don’t have to build the PC yourself. This will save you time. Also, sometimes, the price of the build will be lower compared to buying the parts separately. So many people tend to go for pre-built PCs.
Normally, you might think that there is no way to upgrade a pre-built PC. In reality, this is not always the case. Sometimes, if the motherboard supports, you can upgrade the pre-built configuration. Typically, you will be able to upgrade the RAM and storage.
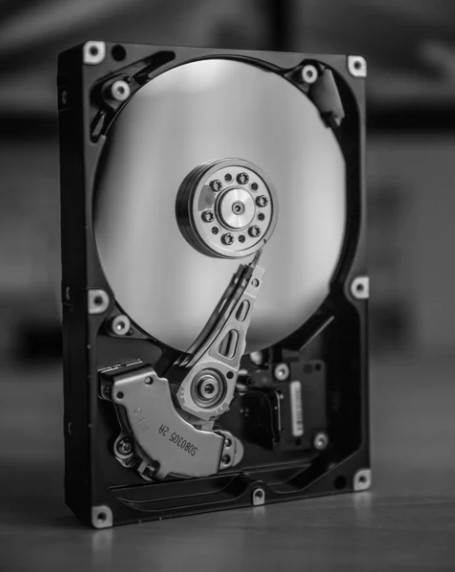
Now, let’s say you want to upgrade the storage of your HP desktop. What should you do? You will have to remove the old hard drive or solid-state drive first. Then you can add the new upgraded storage system in place of the old one.
This post will try to cover how to remove the hard drive from your HP desktop securely. Also, we will show you how to add a new hard drive in place of that.
So let’s get down to business…
An in-depth Guide on How to Remove Hard Drive from Hp Desktop
HP has released a number of desktop models. Depending on the specific model, the method of removing the HDD drive will be different. However, we will try to cover as much as possible in this section below. So here we go…
Method #1 How to Remove Hard Disk Drive from HP Pavilion 500-200 Models
The first method will describe the process of removing the HDD drive from the HP Pavilion 500-200 desktop series. So if you use this desktop, you can check the steps below.
Steps to Follow
- First and foremost, unplug the desktop from the wall outlet properly.
- Next, remove the side panel by removing the screws from the back of the case.
- You will find the hard drive at the front side of the panel attached to the inside panel with some screws.
- First of all, you have to disconnect the hard drive from the motherboard by removing the power and SATA connectors.
- Remember, there is a latch on each connector that you will have to squeeze while removing them from the hard drive disk.
- At this point, the hard drive is attached to the casings with 4 screws. So, remove all the 4 screws one by one.
- After you have removed the screws, you will be able to slide out the hard drive from the case very easily.
- Now, take the new hard drive and line up the screw holes of the hard drive and the case. Then screw in the 4 screws as usual.
- Next, connect the power and SATA cables from the motherboard properly to the HDD drive.
- Then plug in the PC to the wall outlet and the monitor. And, turn on the PC to check if the new hard drive is working or not. Make sure you are not touching anything inside the PC while it is powered on.
- If you see that everything is working well, you can reattach the side panel and screw it in its place.
Method #2 How to Remove Hard Disk Drive from HP Pavilion 8775c Models
This particular method is applicable for most of the HP Pavilion 8####c series desktops. Now, let’s learn how to remove the HDD from this model of HP desktop in a step-by-step manner.
Steps to Follow
- First of all, unplug the desktop from the wall outlet. It is always better to turn off the switch on the PSU as well. Plus, you can use an antistatic band or smoothing if possible.
- Next, you have to take off the front gray-colored bezel.
- Then, remove the case. To do this, you will have to unscrew the thumbscrews from the back of the case. And then slide the side panel and lift it off the mainframe.
- At the front side of the panel, you will find a large metal box that is holding all the drives.
- You will have to remove the 3 screws from the front of the case that is holding the big box.
- Right now, you will have to remove the SATA cable and power cable that came from the motherboard to the hard ..drive. Do this carefully. Don’t put much pressure, or the SATA pins might break. Some SATA cables and power cables come with a spring-type latch. You must squeeze them while removing the cables to remove the connectors properly.
- Now, slide the drive assemble out the front.
- Then, check the back of the hard drive you want to remove. There will be some screws holding it to the drive assembly. You will have to remove them one by one.
- After that, slowly slide out the hard disk drive from the assembly.
- Now, you can insert the new hard drive if you have any and screw it into the drive assembly.
- Next, you have to put the drive assembly/caddy box in its place and add the 3 screws to the front of the case.
- Now, you can slide the side panel and use the thumbscrews to close the case. Then add the gray transparent panel as well.
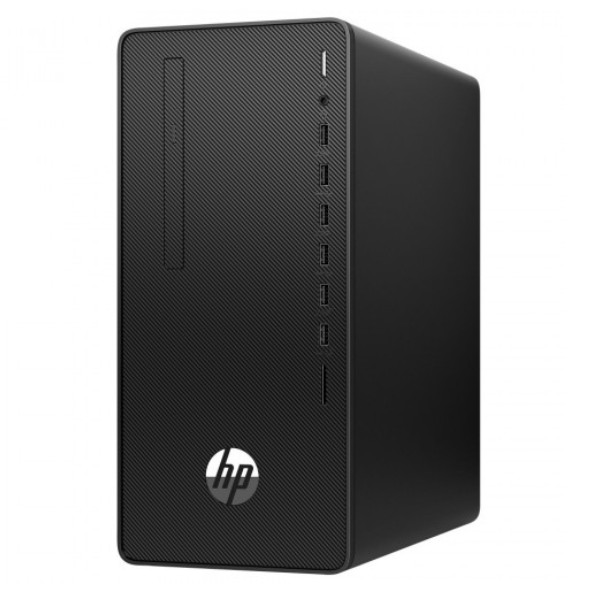
Method #3 How to Remove Hard Disk Drive from HP Desktop Pro, Pro A G2, and 190-0000 Models
If you own any of the HP Desktop Pro, Pro A G2, and 190-0000 desktop PCs, this method is for you. Remember, it is a bit difficult to accomplish this. However, we will try to make it as simple as possible for you.
Steps to Follow
- First, unplug the desktop from the wall outlet.
- Next, open the side panel carefully.
- After that, you will have to remove the optical drive from the front of the case if you have one.
- Then you have to remove the front panel as well.
- At this point, the hard drive disk will be visible to you. It will be placed on a metal drive bay. It would help if you disconnected the power and SATA data connectors from the hard drive as usual.
- You will find that a metal hook is holding on to the power and SATA cables below the metal drive bay. Pull back the metal hook to free the cables.
- Now, look at the front-middle side of the case, where you will find a T15 Torx-head screw. This screw is holding the drive bay to the case. So, you will have to remove that screw now.
- Then, swing the metallic drive bay cage in an upright position and slide it off the case.
- At this point, you have the hard disk drive and the drive bay at your hand. You will notice that the hard drive is attached to the drive with 4 screws on both sides (2 + 2). So, remove those screws one by one.
- Then, you will have to grab the front of the hard drive and slide it out of the drive bay carefully.
- Now follow the steps above in reverse order to replace the hard drive with a new one.
- As usual, it is better to check whether the new hard drive is working before closing the side panel.
Method #4 HP ENVY 700-000 Models
Similar to the last ones, this will be applicable for the users of HP Envy 700-000 desktop PC models. Let’s go…
Steps to Follow
- As always, unplug the PC from the wall outlet.
- Then remove the side panel by unscrewing the screws at the back of the panel.
- Next, you will find the hard drives on a drive bay on the front side of the case.
- First of all, remove the power and SATA cables from the hard drive securely.
- Now, pull out the drive release latch holding up the hard disk drive to the caddy. And, slide out the hard drive towards you while pulling out the drive release latch.
- At this point, you have the old hard drive in your hand. Now, remove the 4 screws holding the hard drive to the plastic case from both sides.
- Then, insert the new hard drive into the plastic cases and screw in the 4 screws, and follow the steps above in reverse order to replace the old hard drive with ease.
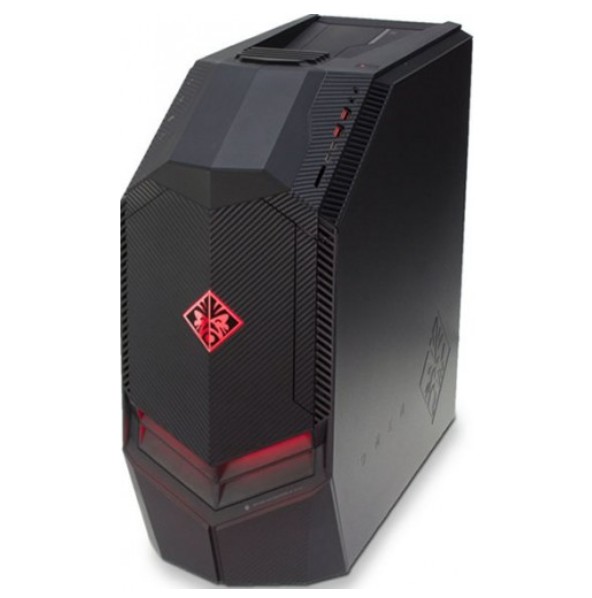
Method #5 HP Pavilion 690-0024 Ryzen Gaming Desktop Models
HP has also released some Ryzen-based gaming desktop PCs a few years ago. In this section, we will cover the method of removing the hard drive from the HP Pavilion 690-0024 model.
You can follow the steps below if you own one of these HP desktop PCs.
Steps to Follow
- As usual, first of all, you need to disconnect the PC from the wall outlet.
- Then, you have to remove the front cover of the optical drive from the front of the case. You can use an old gift card or credit card to do so.
- Now, open the side panel by removing the single screw at the back. Remember, the screw will be attached to the back of the case; you will have to unscrew it from the side panel.
- Next, you will find a black color metal casing on the inside of the case. The hard drive disk is actually attached to the black casing.
- Now, slide the black metal casing out of the front side of the PC case very carefully because there are lots of cables inside it.
- Next, you will find the hard drive is actually screwed into the black metal casing with 4 screws.
- First of all, you will have to disconnect the power and SATA cable from the hard drive.
- Then remove those 4 screws from the top of the black casing one by one.
- At this point, the hard disk drive will slip out easily.
- To replace the hard drive with a new one, you can follow the steps mentioned above in reverse order.
Final Thoughts
We have shown a few methods of removing the hard drive disk from HP desktop PCs in this tutorial. You can see that the methods are almost similar basically.
However, there could be a bit of difference in the entire process. So we have tried to point that out as well.
We believe that if you have followed the steps mentioned above, you will be able to remove the HDD drive from your HP desktop easily. This could come in handy if you want to upgrade the storage system.
Also, these methods will help you when the default hard drive has gone bad and you have to replace it.
If you are an astronomy fanatic, you can check out this interesting article on 25 Scary Facts about Space You Won’t Learn in School. As always, don’t forget to share your feedback in the comments below. At the same time, you can share this post with other HP desktop users as well.