Even though facing a decline in the number of new and active users, Facebook still continues to be one of the biggest social media networks in the world. And with that comes one of its more popular features: Stories.
Facebook stories are a great way to share moments and memories that you don’t necessarily want to post on your timeline. It’s also a great way to see content from other people and businesses without it cluttering up your news feed.
But can you do something more with stories, such as taking a screenshot?
The answer is YES! You can screenshot Facebook stories! All you have to do is take a screenshot of your device’s screen while the story is playing.
But it is only for photos and not for videos. If you try to screenshot a video, you will technically have to download the video.
To do this, you can use screen-recording software, either natively on your device or through a third-party app. Similarly, you can use software that allows you to download the video by simply pasting the URL into the program.
A Detailed Look At Facebook Stories
Taking a cue from other social media platforms, Facebook integrated Stories into its platform in 2017. Since then, it has become an essential part of the app experience. New and old users alike have grown accustomed to seeing updates from their friends and family through stories.
Facebook stories are only available for a 24-hour window. Once the time has passed, it disappears from the platform.
Other users can reply to stories with a comment, sticker, or even start a chat. Stories can also be shared with other users and groups, which helps in expanding the reach of the content.
You can also add fun filters and effects to enhance your photos or videos, as well as tag people in stories. Plus, you can even save your stories for future use.
Facebook Stories are an easy and fun way to share quick snippets of your life with your friends and family. And with the ability to take screenshots, you can capture those memories for eternity. So go ahead and start snapping away!
How To Screenshot Facebook Stories
The process of taking a screenshot of a Facebook Story is fairly straightforward, although it does vary slightly depending on the device you’re using and the story content.
For Photos
On iOS devices, take a screenshot by pressing the Side button (previously known as Sleep/Wake) and Volume Up buttons simultaneously.
For Android devices, press and hold the Power and Volume Down buttons simultaneously. Moreover, based on the Android device, you may be able to take a screenshot with gestures such as swiping three fingers across the screen.
For Windows devices, press the PrtScn or Win+PrtScn keyboard buttons to save a screenshot of your screen in the Screenshots folder.
For Mac devices, press Shift+Command+3 to take a screenshot and save it on your desktop. You can also do a Spotlight search for “Screenshot” and use that to capture the story.
For Videos
On iOS devices, you can use the native Screen Recording feature to record videos. Just make sure to turn on the microphone if you want to capture audio in the recording.
For Android devices, you can use third-party apps to record videos of your screen. Many of these apps are available for free in the Google Play Store.
For Windows devices, you can use the built-in Snipping Tool or a third-party app to record videos.
For Mac devices, use the built-in QuickTime Player or a third-party app to record your screen as a video.
Once you’ve recorded the video, you can save it to your device.
Does Facebook Notify When You Take a Screenshot?
No, Facebook does not currently notify users when someone takes a screenshot of their stories. However, the person whose story you screenshot may be able to see if their story was viewed.
So if you don’t want to be noticed, make sure to close the story before taking a screenshot.
How To Upload A Facebook Story
If you want to upload a Facebook story of your own to share it with your friends, then don’t worry. The process of uploading a Facebook story is pretty straightforward. Even if you’re new to the platform, you should be able to figure it out in no time. Here is a step-by-step guide to getting you started:
On Mobile
1. Open the Facebook app and click on the “+ Create Story” button that shows on top of the feed with your profile picture.
2. Select the type of content you want to upload, either a photo or video. You can also select multiple photos and videos if you want.
3. Once you have selected the content, you can add stickers, filters, and other effects to enhance your story.
4. When you’re happy with your story, click on the “Share Story” button to make it visible to your friends and followers.
Facebook also provides several default content types that you can choose for your story. This includes:
Text
This allows you to post a story with a text-only description. You can also add stickers, filters, and other effects to make it more interesting. Facebook provides attractive backgrounds to choose from as well.
Music
This allows you to add a background track to your story. All you have to do is select the song from Facebook’s library to post on your story. If the lyrics are available, they will be displayed with your post.
Boomerang
This allows you to create short looping videos that can be added to your story.
Green Screen
This allows you to create a cool background effect for your story. You can select an image or video from Facebook’s library to give your story an interesting look.
On Desktop
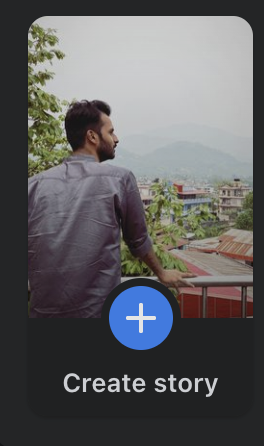
1. Go to the Facebook website and click on the “Create Story” button at the top of your feed.
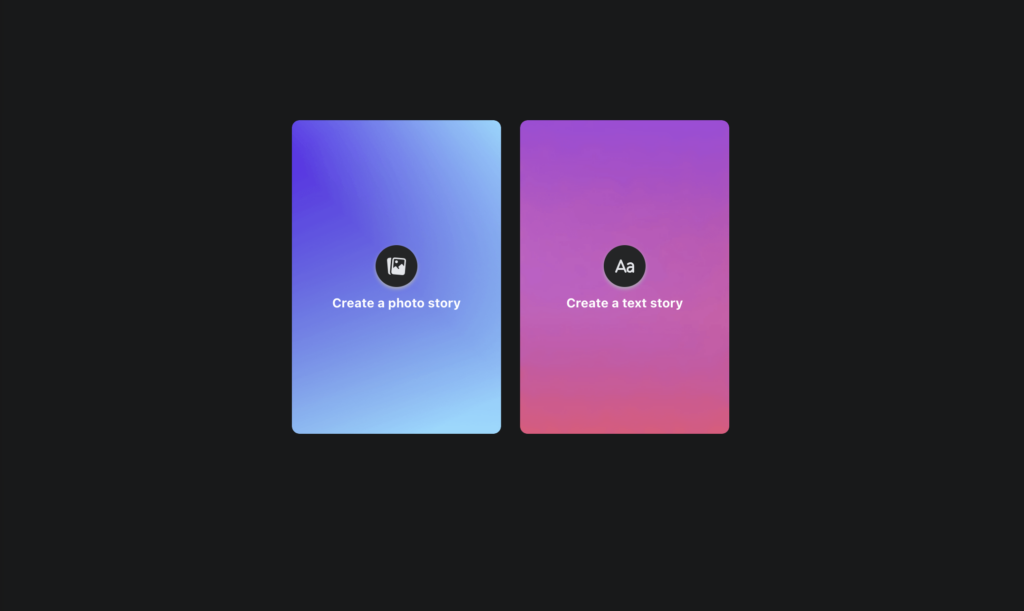
2. You can select from the two options available – “Create a photo story” and “Create a text story.”
3. If you select “Create a photo story,” you can upload a picture and add filters, stickers, and other effects to enhance your story.
4. If you select “Create a text story,” you can type in your text and add stickers, filters, and other effects.
5. When you’re happy with your story, click on the “Share Story” button to make it visible to your friends and followers.
You can also click on the “Settings” gear to customize the privacy settings for your story. You can choose to make it visible to everyone, just your friends or only specific people. You can also hide it from specific people.
Once you’ve uploaded your story, it is available on the platform for a 24-hour window and visible to the people based on the privacy settings you selected. After that, it will disappear from the platform.
So go ahead and start creating your Facebook stories today and share your experiences and memories with your friends and followers! Have fun!
Conclusion
Taking screenshots of Facebook stories is possible using both mobile and desktop devices. Facebook does not currently notify users when someone takes a screenshot of their stories, so that’s a plus.
If you want to upload a story of your own, then that process, too, is pretty simple. Just make sure to add the right privacy settings to control who sees your story. Now, go ahead and start screenshoting and creating some amazing stories of your own!